You can use a Barracks to show you exactly how to damage enemy buildings since
they have a damage radius the size of a Barracks (3vs3). What you do,
although you can't always do this easily in a game, is click on a Peasant
chopping Lumber. Then press B then B again on the keyboard (BB for build barracks)
then drag the Barracks over the enemy's buildings to see how much you
can hit with your sapper and where to aim it.
Destroying Farms
Farms are easy kills for Goblin Sappers because they only have 400 hit points. When a Farm is destroyed, the enemy
also loses 4 food which can mean they can build 4 less units. There is also the possibility that their Food will become
over used if they were right at their limit before the Farm(s) were destroyed.
Farms cost 500  250
250  .
Sappers are 750 250 . To be cost effective, you need
to destroy at least 2 Farms per Goblin Sapper. The following are common formations you may see and how
to attack them.
.
Sappers are 750 250 . To be cost effective, you need
to destroy at least 2 Farms per Goblin Sapper. The following are common formations you may see and how
to attack them.
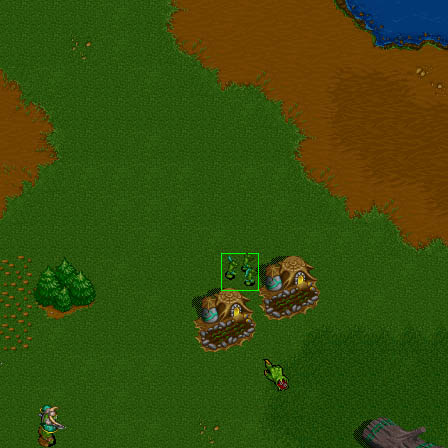
2 Farm Diagonal
Enemy lose 1000 500
You lose 750 250
Difference 250 250
Frequency Seen: Often
|

|
|
[ Click to Enlarge - 44 KB ]
2 Farms destroyed by 1 Goblin Sapper
|
[ Click to Enlarge - 42 KB ]
You can attack where the Goblin Sapper is or on the opposite side to destroy both Farms.
|
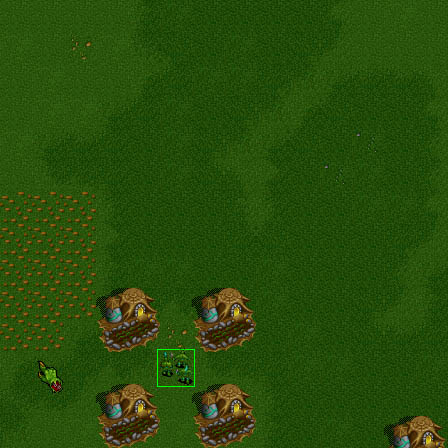
2 Farm Straight
Enemy loses 1000 500
You lose 750 250
Difference 250 250
Frequency Seen: Often
Usually you see this formation in Blocks of 2x2, 4x4, 9x9 or more.
|
|
|
[ Click to Enlarge - 51 KB ]
2 Farms destroyed by 1 Goblin Sapper
|
[ Click to Enlarge - 48 KB ]
You can attack where the Goblin Sapper is or on the opposite side to destroy both Farms.
|
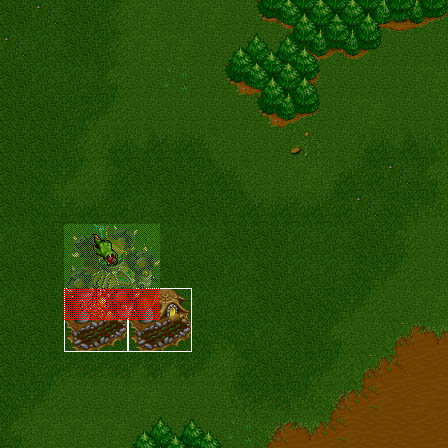
3 Farms
Enemy loses 1500 750
You lose 750 250
Difference 750 500
Frequency Seen: Occasionally
|
|
|
[ Click to Enlarge - 70 KB ]
3 Farms destroyed by 1 Goblin Sapper
|
[ Click to Enlarge - 73 KB ]
Place the Goblin Sapper where you see the dust.
|
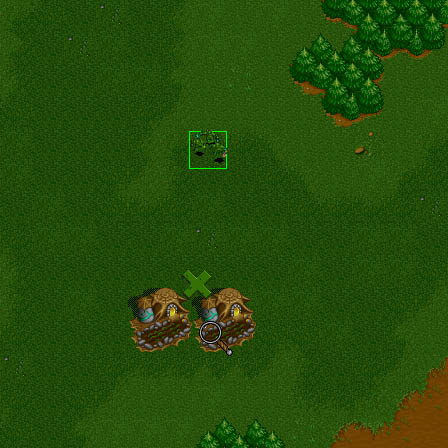
The L Formation
Enemy loses 1500 750
You lose 750 250
Difference 750 500
Frequency Seen: Fairly Often
|
|
|
[ Click to Enlarge - 60 KB ]
3 Farms destroyed by 1 Sapper
|
[ Click to Enlarge - 55 KB ]
You can attack where the sapper is or on the opposite side to destroy both Farms.
|
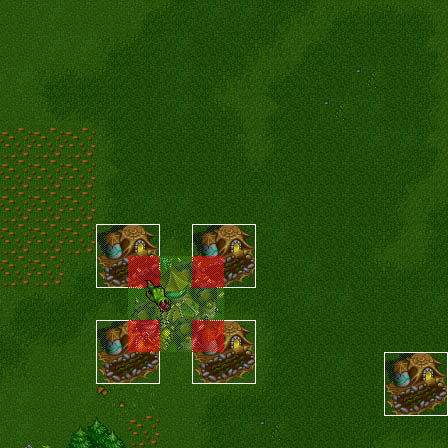
The U Formation
Enemy loses 2000 1000
You lose 750 250
Difference 1250 750
Frequency Seen: Very Rare
The U formation usually happens when someone is trying to build a block of 4 Farms and they, by mistake, build the last
Farm over 1 space away.
|
|
|
[ Click to Enlarge - 58 KB ]
4 Farms destroyed by 1 Goblin Sapper
|
[ Click to Enlarge - 63 KB ]
The Goblin Sapper should be told to explode in this location.
|
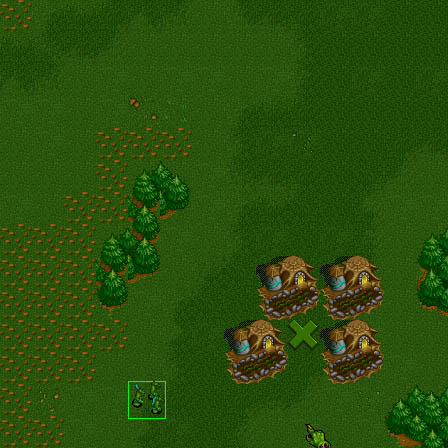
The X Formation
Enemy loses 2000 1000
You lose 750 250
Difference 1250 750
Frequency Seen: Very Rare
Because a person has to work fairly hard to build their farms in this fashion (size 1 space between them all), you rarely
see it.
|
|
|
[ Click to Enlarge - 56 KB ]
4 Farms destroyed by 1 Goblin Sapper
|
[ Click to Enlarge - 50 KB ]
The Goblin Sapper must explode in this exact location.
|
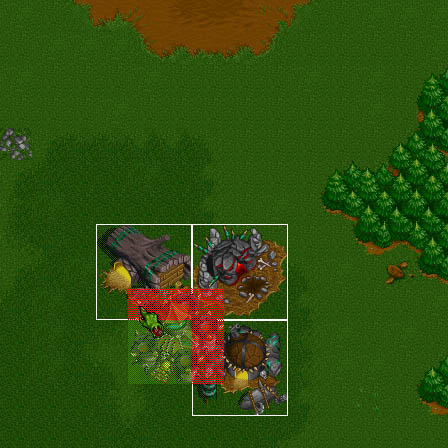
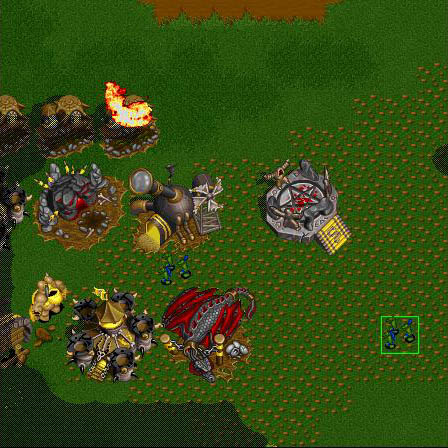
Other Buildings
If you combine Basic and Advanced buildings you can do even more damage. This will however require 2 or more
Sappers.
In this example
Enemy loses 2400 1200
You lose 1500 500
Difference 900 700
|
|
|
[ Click to Enlarge - 55 KB ]
The Lumber Mill, Blacksmith, and Ogre Mound are destroyed. The enemy can no longer build Ogres, Axe Throwers, upgrade to Castle/Keep,
and is now getting less Lumber for each chop.
|
[ Click to Enlarge - 50 KB ]
The Goblin Sapper must explode in this exact location.
|
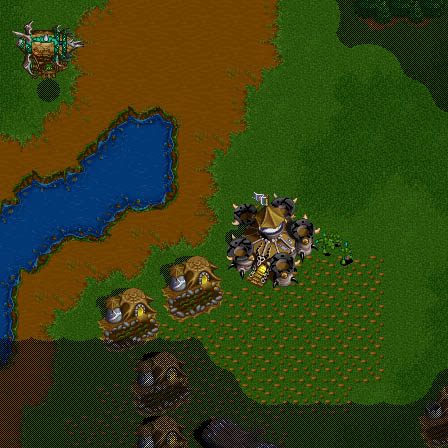
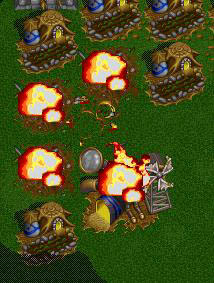
Enemy loses 3700 1550
You lose 1500 500
Difference 2200 1050
|
|
[ Click to Enlarge - 73 KB ]
The enemy loses their Dragon Roost, Ogre Mound, Goblin Alchemist, Barracks.
|
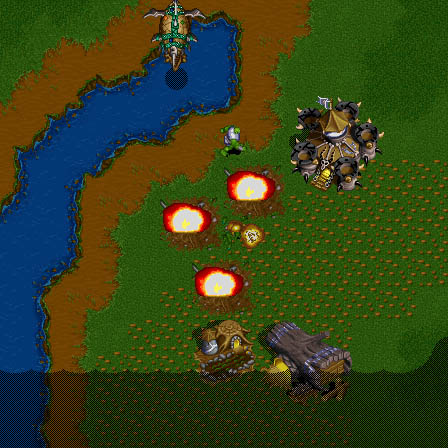
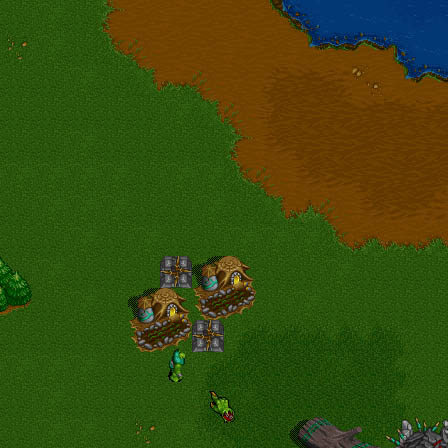
Preventing Goblin Sapper and Demolition Squad Damage
At about the Stronghold/Keep stage it's time to worry about being hit by Goblin Sappers. What you need to do at this point is build
your town such that the enemy will not have any "good hits" with their Goblin Sappers. Build each building with at least 2 width
between it and the next building meaning no farms or buildings are side by side or even 1 Peasant width (1x1) between them.
Use walls to fill up gaps between existing buildings so that the enemy will have to hit the wall or just one building instead.
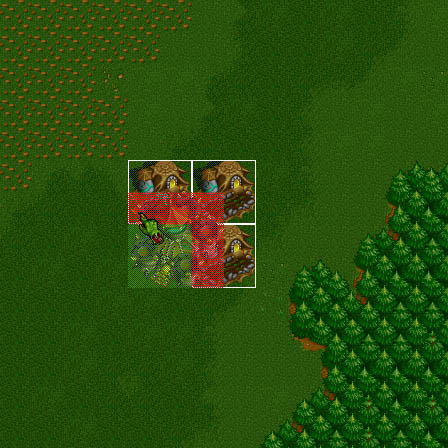
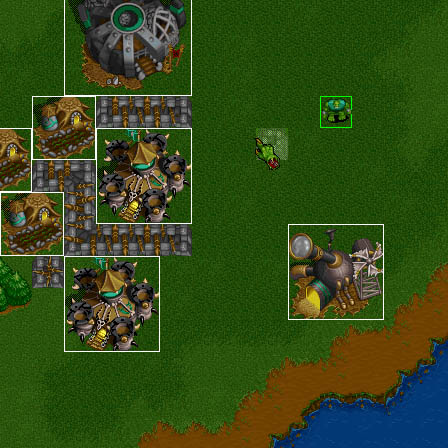
Walls
Walls are only 20 10 a
section. You can put down 2-3 walls between buildings to protect them for pretty cheap. If the enemy decides to attack
the walls with a Goblin Sapper, (which they should never do) then they are really losing money. You can just rebuild the walls
pretty quickly before another Goblin Sapper comes in as well. Never try to destroy walls with Goblin Sappers unless you're trying to
get into a Tower or break through a wallin.
|
|
|
[ Click to Enlarge - 41 KB ]
Building walls here protects these Farms from Goblin Sappers. It will take one Goblin Sapper per Farm rather than one for both.
|
[ Click to Enlarge - 61 KB ]
Build Walls between buildings to protect them from Goblin Sappers.
|
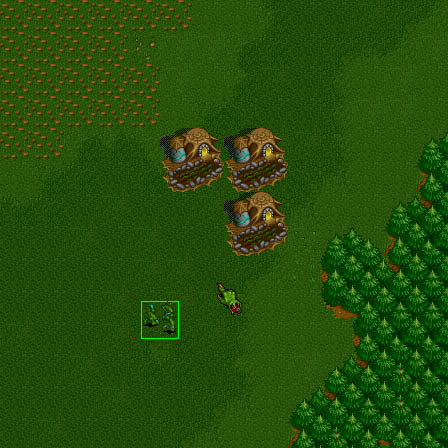
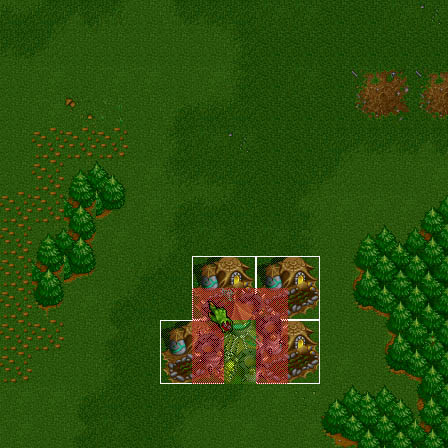
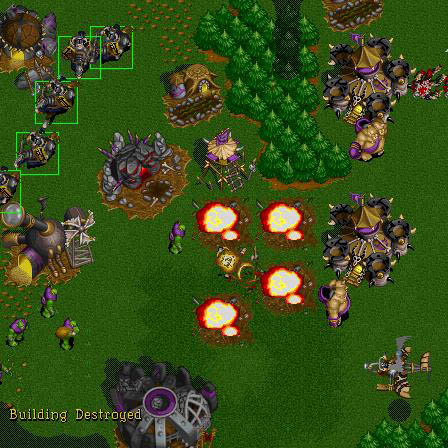
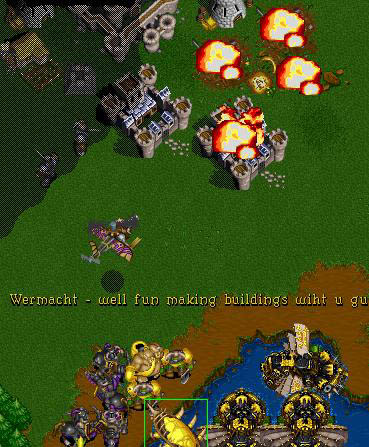
Real Game Examples
|

|
|
[ Click to Enlarge - 76 KB ]
A U Formation
|
[ Click to Enlarge - 68 KB ]
3 Farms are destroyed and a Barracks is damaged
|
|
|
[ Click to Enlarge - 31 KB ]
3 Farms are destroyed and a Gnomish Inventor is damaged.
|