|
 |
 |
 |
Hit Points: 150
Size: Large
Supply: 2
Cost: 50  100 100 
Build Time: 40
Produced from: Mutalisk
Requires: Greater Spire
|
Base Ground Attack: 20
Base Air Attack: N/A
Base Armor: 2
Range: 8
Sight: 11
Cooldown: 30
Production Hot Key: G
|
|
Believed to be the nesting form of the Mutalisk, this is a secondary stage that has a much thicker armored
carapace and a longer ranged plasma attack. The Guardian is, however, noticeably slower than the Mutalisk,
and as such is used primarily to defend the vulnerable Zerg Larvae.
Producible once the Spire is evolved into a Greater Spire, the Guardian is morphed from the Mutalisk. Once
the transformation is complete, the Guardian form is permanent and the Mutalisk is no longer recoverable.
The Guardian is one of the most powerful Zerg assault units with an incredible attack range and an attack
that inflicts a full 20 base points of normal damage. In addition to the awesome attack potential, the Guardian
also has 2 points of base armor, making it more resistant to attack than most units.
The Guardian's attack range gives it the advantage of being able to fire on ground targets while hovering in
safety over high ground, water or space. The only ground unit truly capable of retaliating at that distance is
the Terran Goliath with the Charon Booster Upgrade. However, Terran Goliaths are limited by where it can roam, while the
Guardian can fly to a safe haven in any safe haven in a given area. If possible try to keep Guardians
away from open ground to make the best use of the attack range.
Guardians make great blockade breakers, particularly against Terran Siege Tank/Bunker combinations and Protoss
Photon Cannon clusters. However, when approaching these blockades, use the terrain to your advantage (as described
above) and always target the perimeter units/structures first. Failing to do either can be devastating to a Guardian
force should they wander into the attack range of enemy units, nullifying any advantage they might have had.
The powerful Guardian attack can be very useful in eliminating specific targets while support units distract and
divert an opponent's attention. Use the Guardians to eliminate the more powerful enemy units quickly (i.e. Siege
Tanks, Reavers, Ultralisks, etc.) so that not only do the Guardians have less to worry about, the support units
will have a better chance of surviving and causing more damage.
The Guardian does have a few weaknesses and these keep it from being a self sufficient unit. First, Guardians have
no defense against attack from aerial units since their Spore attack works only against ground targets. This makes
them particularly vulnerable to attack from Scouts, Corsairs, Carriers, Wraiths, Valkyries, Battlecruisers, Mutalisks
and Devourers. Also, Guardians move very slowly and have a difficult time retreating from a battlefield when the
tide turns in the enemy's favor. To alleviate these problems, always keep a support group of Mutalisks or Hydralisks
nearby to deal with any unforeseen circumstances.
Guardians, like the Mutalisks, also tend to stack when grouped and commanded to travel to a target area. Stacking
can be an advantage since enemy units will have a more difficult time targeting a specific unit in the group, however
this can be a very large hindrance when facing area effect abilities or attacks. Abilities like Psionic Storm, Plague or
Irradiate can be very hard to dodge and units like the Mutalisk, Valkyrie and Corsair with their bounce/splash damage attacks
can prove to be fatal to stacked Guardians. So if and when possible, keep your Guardians in smaller clusters and separated
to avoid these pitfalls.
|
|
|
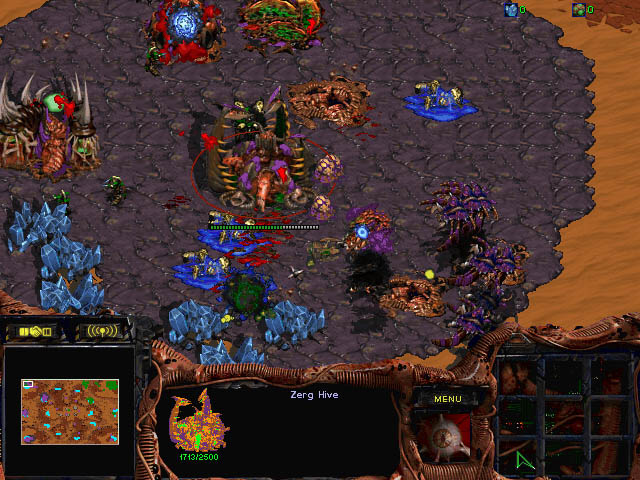
[ Click to Enlarge - 103 KB ]
Guardians destroy a Zerg Town.
|
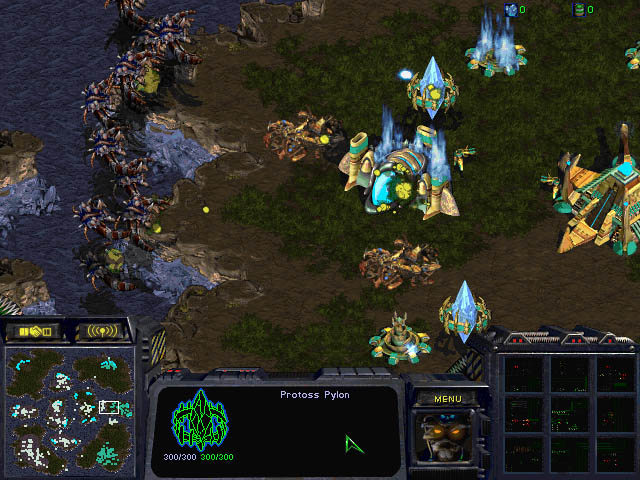
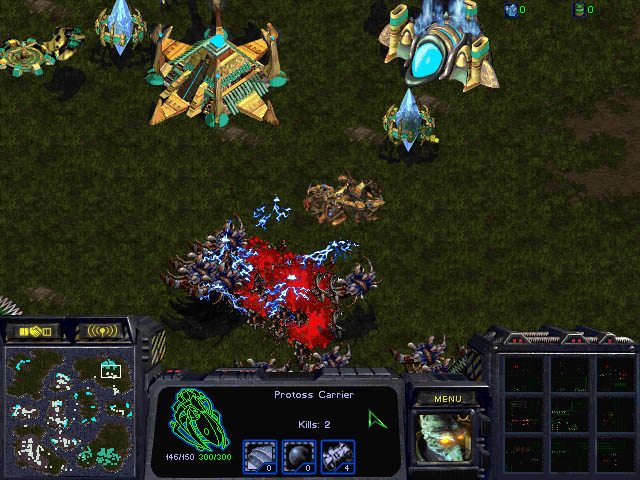
[ Click to Enlarge - 94 KB ]
Guardians lay waste to a Protoss Outpost.
|
Terrans
- Cloaked Wraiths can catch Guardians by surprise and with their own range of attack can probably destroy the Guardians before they can get away.
- Goliaths with the Charon Booster upgrade can stand toe to toe against Guardians in terms of both firepower and range.
- Wraiths and Valkyries can make quick work of unescorted Guardians.
- Science Vessels with Irradiate can depopulate stacked groups of Guardians in a short time.
- Battlecruiser firing their Yamato Guns can quickly decimate a pack of Guardians.
|
|
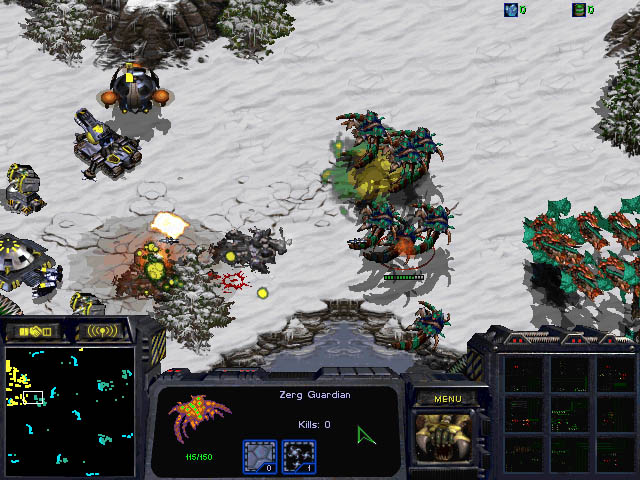
[ Click to Enlarge - 97 KB ]
A Science Vessel Irradiates some Guardians, a great counter.
|
Protoss
- Scouts, Corsairs and Carriers can easily destroy or force a Guardian group to retreat.
- High Templar with Psionic Storm can wreak havoc on a stacked group of Guardians.
- Dark Archons can immobilize Guardians with Maelstrom or take control of them entirely with Mind Control.
|
|
|
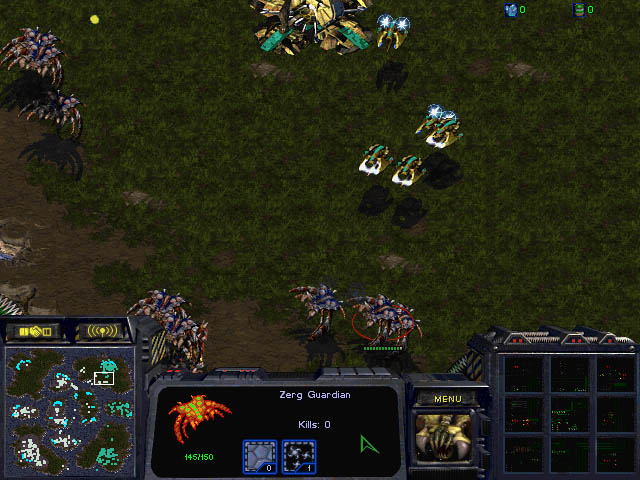
[ Click to Enlarge - 79 KB ]
Corsairs are a great counter to Guardians. Not only can they put Guardians on the run but they are
also useful for killing Overlords and Mutalisks.
|
[ Click to Enlarge - 101 KB ]
Guardians are often stacked in pretty tightly on the attack making them perfect targets for
a nice Psionic Storm like this. Psionic Storm can quickly put a stop to any Guardian attack.
|
Zerg
- If they can get within range, Hydralisks in numbers can make quick work of Guardians (especially beneath a Dark Swarm).
- Scourge wreck any Guardian unfortunate enough to be targeted.
- Mutalisks and Devourers can attack the Guardians with complete impunity.
- Defilers can use Plague to heavily damage stacked groups of Guardians.
- Queens can Ensnare Guardians, making it more difficult than it already is for them to escape.

|
Flyer Attack
Level 1 -
100  100
100 
Level 2 -
175
175
Level 3 -
250
250
|

|
Flyer Carapace
Level 1 -
150
150
Level 2 -
225
225
Level 3 -
300
300
|
Flyer Attack -
Each upgrade adds +2 to the Flyer Attack for a total of +6 when fully upgraded.
Flyer Carapace -
Each upgrade adds +1 to the Flyer Carapace for a total of +3 when fully upgraded.
Online Privacy Policy
Battle.net Terms of Use Agreement
©2019 Blizzard Entertainment. All rights reserved.
|